

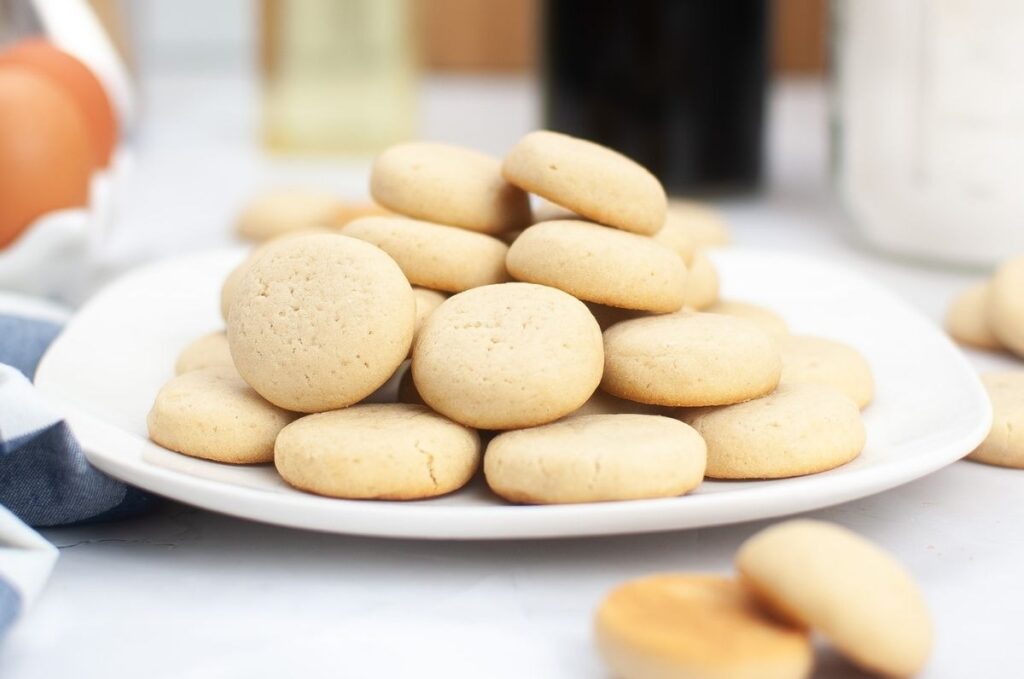
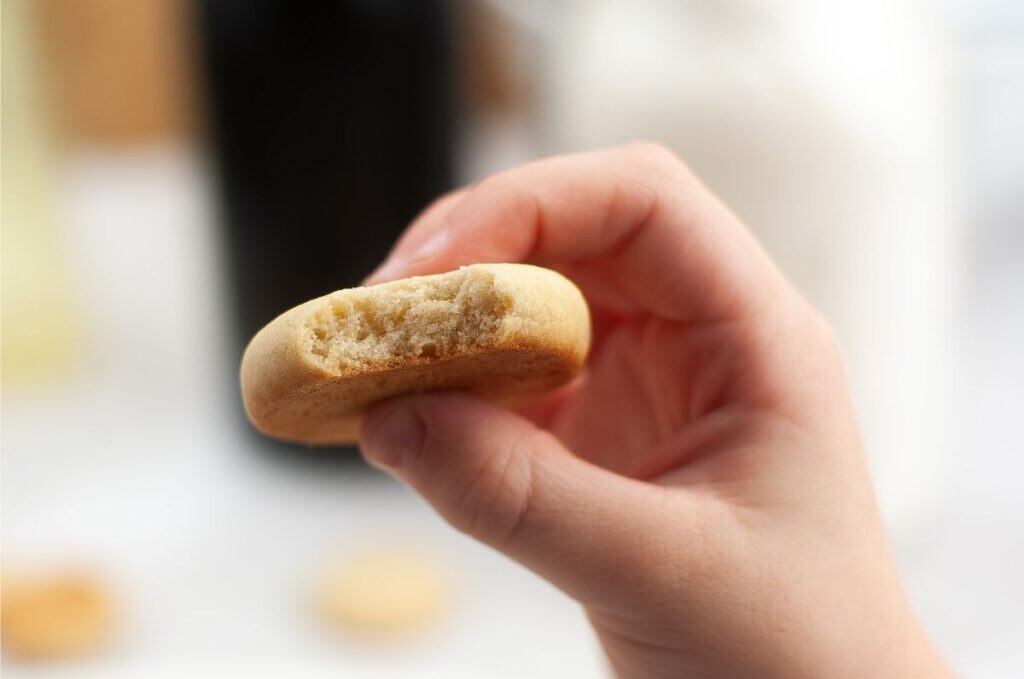
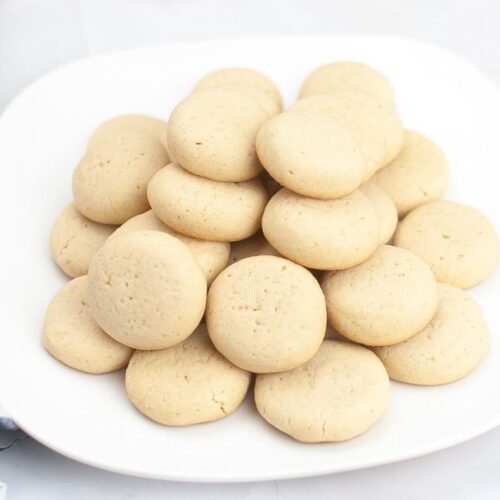
Learn how to make vanilla wafers and sweet, vanilla-flavored, crunchy cookies.
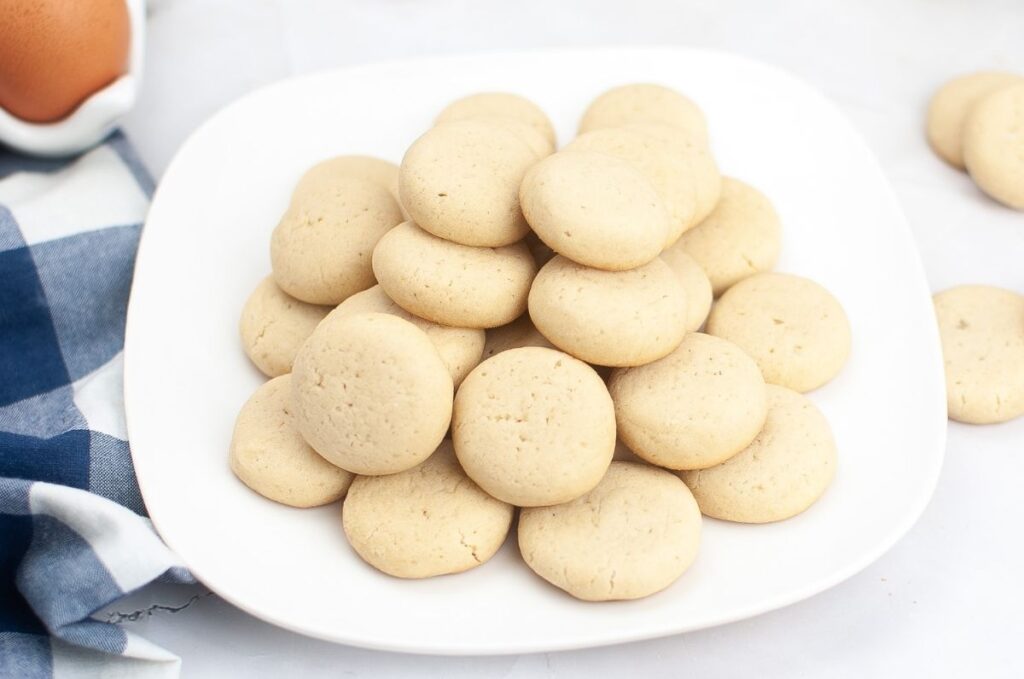
Vanilla wafers are most known for pairing with banana pudding, but they are a tasty treat any time of the day.
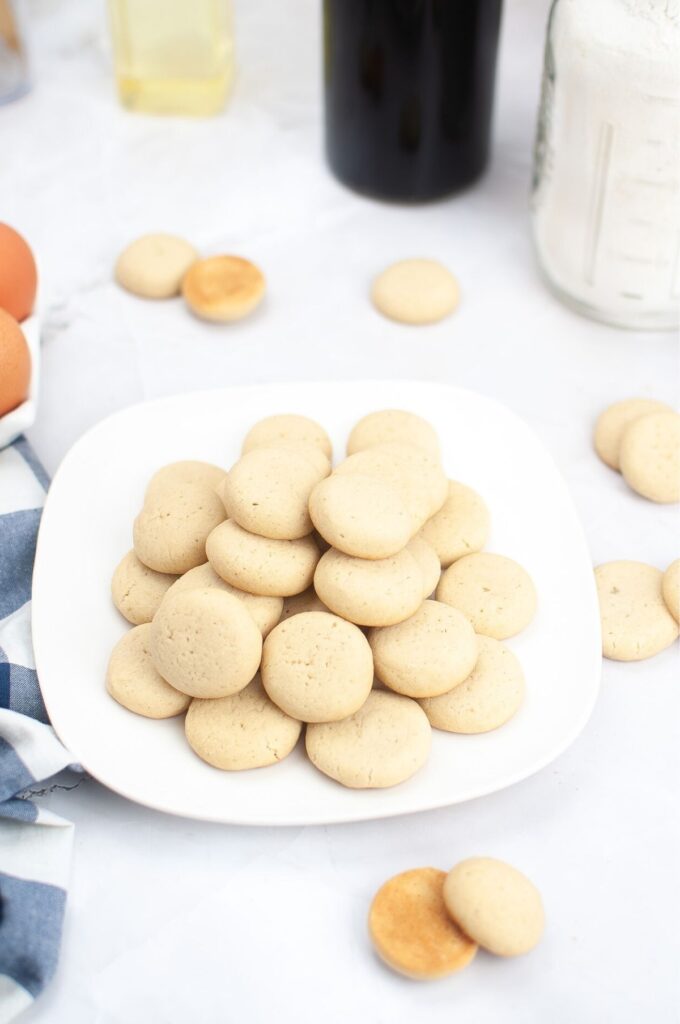
Give these vanilla wafer cookies a try soon.
These sugary cookies have been around for ages!
You can also call them Nilla Wafers, depending on the brand of cookies you buy.
You might also want to check out this no-fail banana dessert or banana creme push pops for more ways to use cookies.
Reasons To Make Your Vanilla Wafers
Made from-scratch cookies that are even better than buying them from the store. You get to control all the ingredients used in these crunchy cookies. Feel free to customize the cookies to fit your needs. Making the cookies from scratch can be more affordable than buying a box.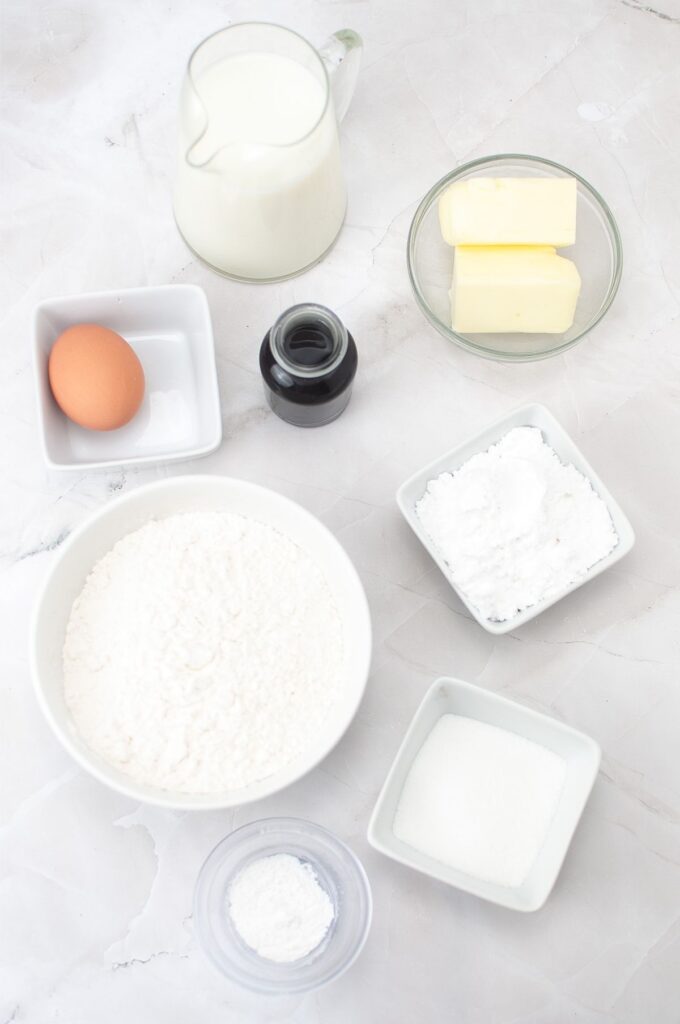
Ingredients Needed
Flour: Use all-purpose four for the base of the cookies. Measure properly so you don’t add too much or too little flour.
Baking Powder: Baking powder is used to add texture and help the cookies rise as they bake up.
Butter: I used salted butter at room temperature. If you use unsalted butter, add a dash of salt to the cookie dough.
Powdered Sugar: If your powdered sugar has clumps, you can sift the sugar first to remove them.
Granulated Sugar: You will also use granulated sugar for added sweetness, and it helps give the cake that golden brown color.
Eggs: I recommend using room-temperature eggs as they blend better into the cookie batter.
Vanilla: Real or extracted vanilla enhances the cookies’ overall flavor.
Milk: A little milk is needed to help get the vanilla wafer cookies to the proper consistency.
How to Make Vanilla Wafers
Full directions on how to make this simple copycat Nilla Wafers recipe are in the printable recipe card below. This is a quick walk through on how it is made.
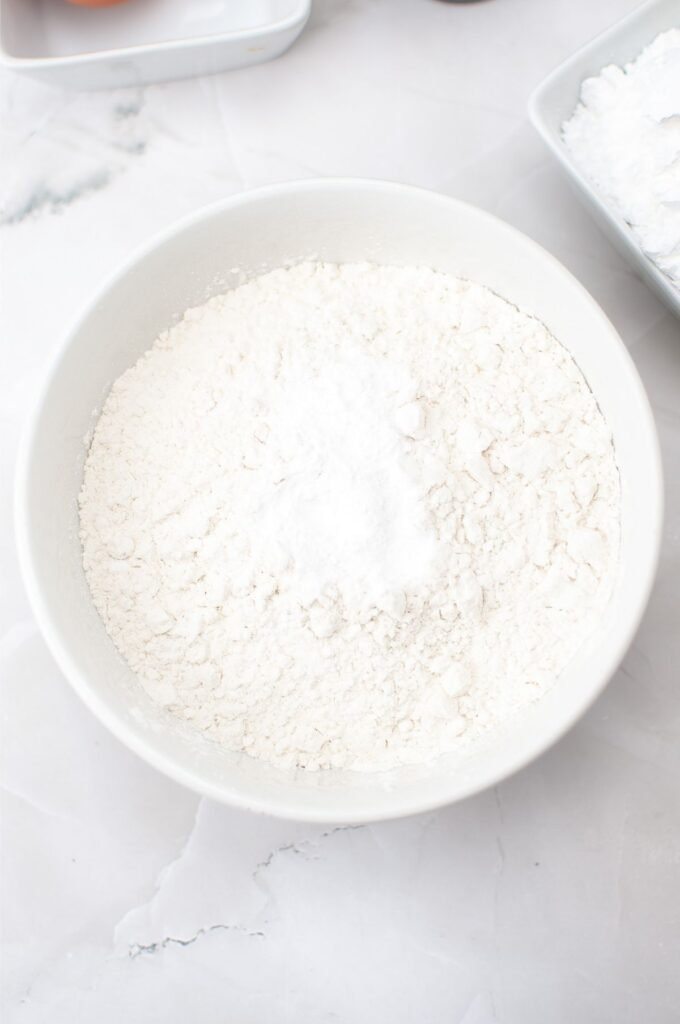
Step 1: Start by adding all your dry ingredients into a medium bowl.
Sift and then set it to the side.
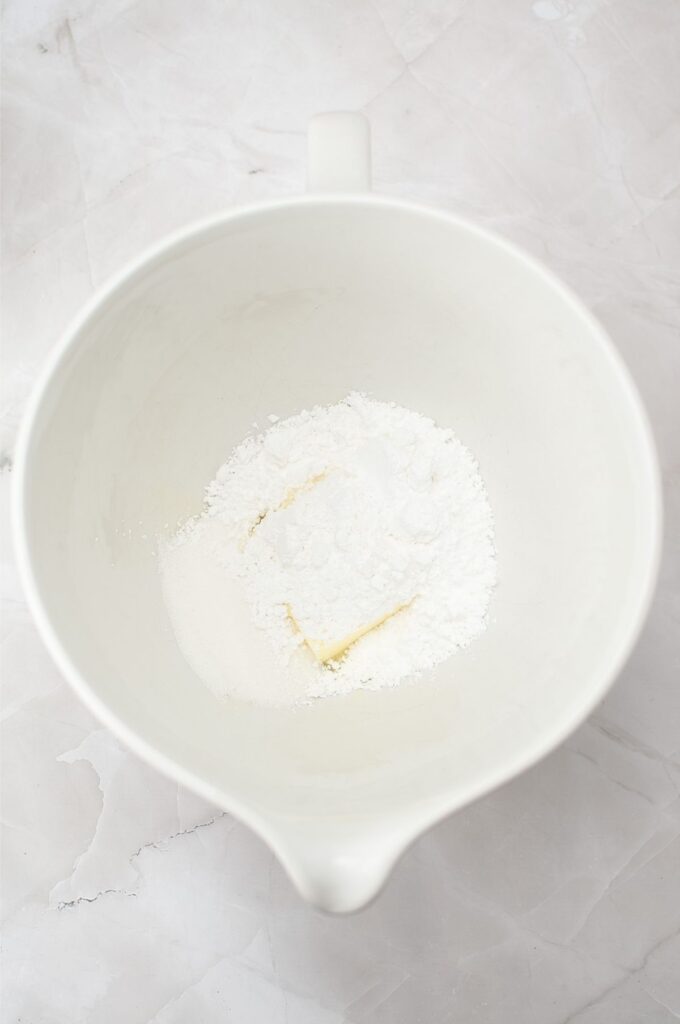
Step 2: Next, blend the butter and sugars together in a bowl or stand mixer for 2-3 minutes to cream the butter.
Ensure you scrape the sides down of the bowl.
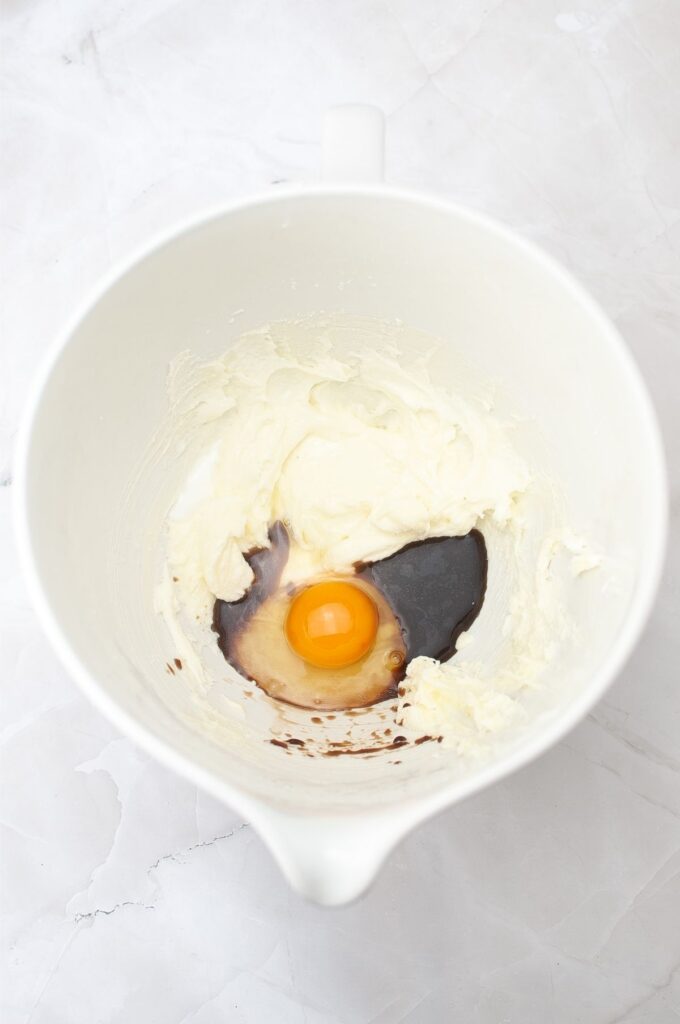
Step 3: Work in the egg, vanilla, and milk. You want to incorporate it fully.
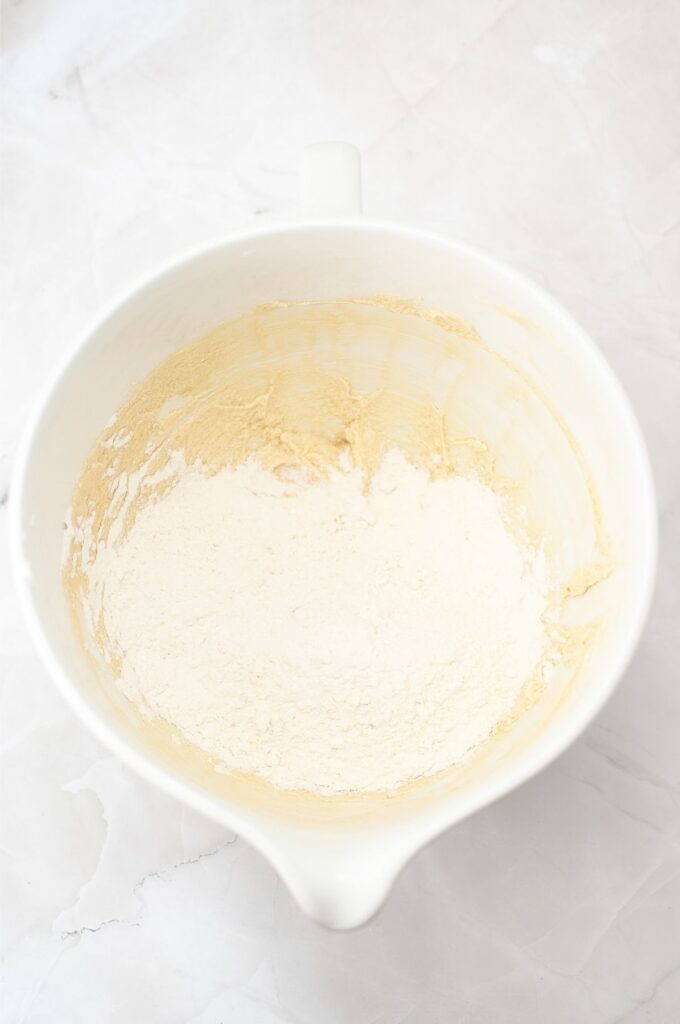
Step 4: Next, work in the flour mixture until it is thoroughly combined.
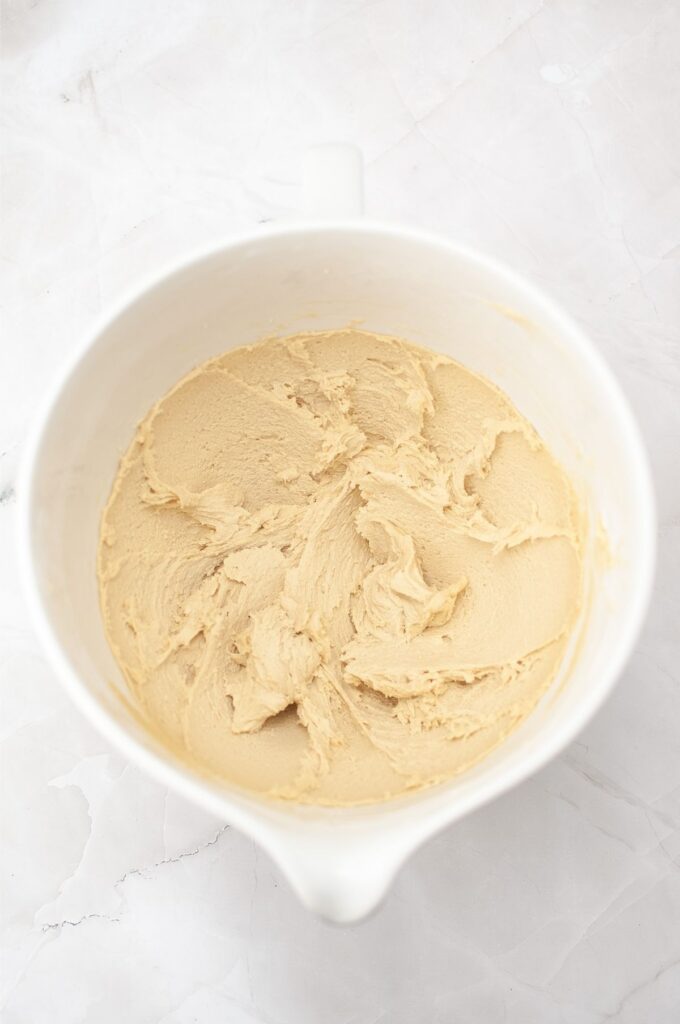
Step 5: Then you will take the batter and refrigerate as directed.
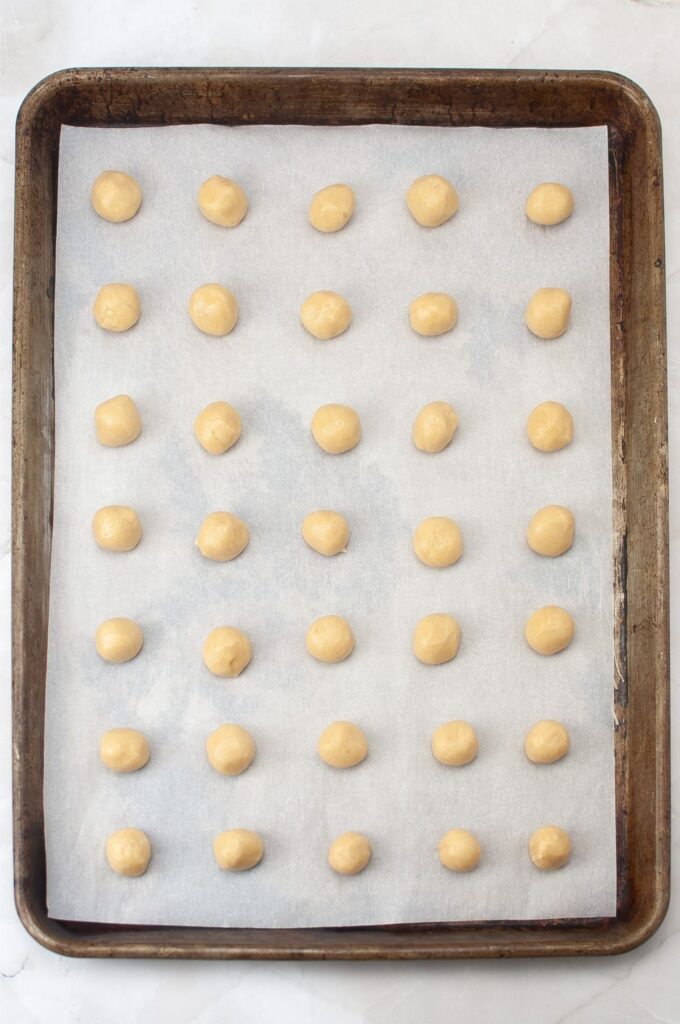
Step 6: Preheat the oven, prep your pan, and place cookie dough on the baking tray with a cookie scoop.
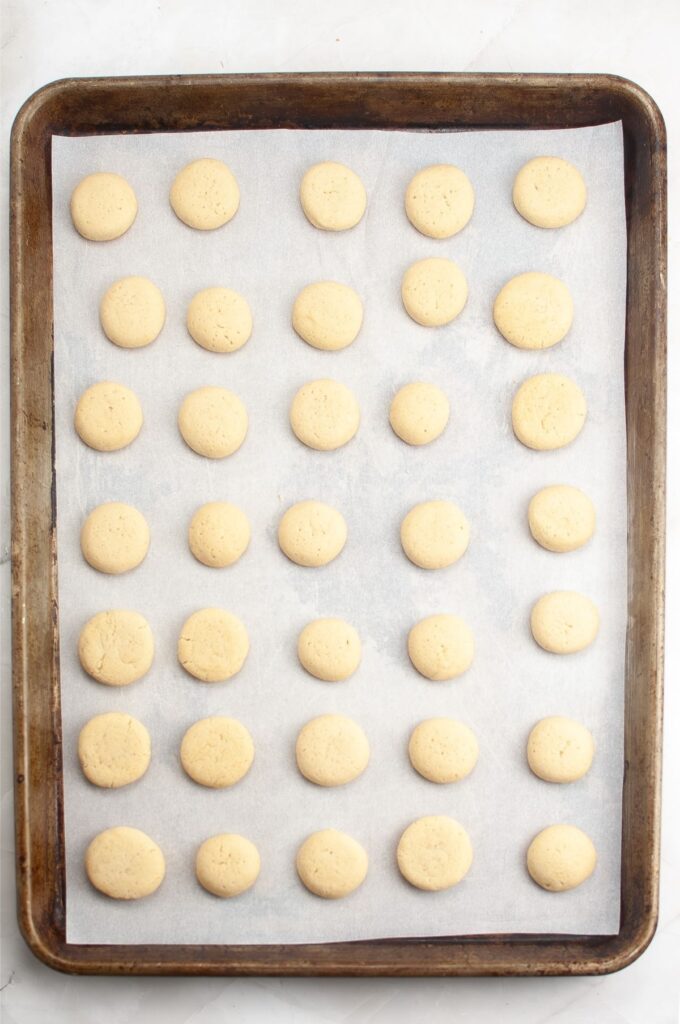
Step 7: Bake as directed, and once done, let cool on a cooling rack.
Variations to Recipe
Once your cookies are completely cool, dip them in melted chocolate. You can dip the bottoms of the cookies or half the cookies. Add some jimmi sprinkles to the cookie batter for a birthday cake themed cookie. Add in some lemon or lime zest or even fruit extract into the cookies for added citrus flavor. Mix in a bit of cinnamon for a warm spice flavor. Instead of vanilla extract, use a vanilla bean pod for a richer flavor. Add a bit of mini chocolate chips to the cookie dough batter for studs of sweet chocolate in each bite. Add 1/2 teaspoon to 1 teaspoon of instant coffee for a coffee-infused cookie flavor. Whip up some frosting and make sandwich cookies with two of the cookies.Those are just a handful of the ways to change up the flavor of these mini cookies.
Feel free to experiment and create a custom cookie.
How to Store Homemade Wafers
Place all the cookies in an airtight container and store at room temperature for up to a week.
You will find that if you are worried about the cookies sticking you can use wax paper between stacking layers of the cookies.
How to Freeze Cookies
Freezing the cookies is another option.
Freeze for 3-4 months if you would like by placing wafers in a freezer bag or freezer container.
Then when you want some eat straight from the freezer or allow them to thaw a bit on the counter.
Tips for Making
It is very important that you allow your cookie batter to chill in the fridge before you bake. If you do not, the cookie dough will spread too much and the texture will be off. Using a cookie scoop is important so all the cookies are the same in size and bake up evenly in the oven. Otherwise, you will end up with some cookies that are too done and other that could have been in the oven a bit longer. Ensure you allow the cookies to cool fully before you store them. If they are not cooled it will create condensation in the container and can leave the cookies soggy. Do not overbake the cookies or they will dry out. Use the cook time as a guide, and remove the cookies when they are golden brown on top.You can preheat the oven to 300 degrees and place the cookies in a single layer on a baking sheet and cook for a few minutes until they are crunchy again. These cookies will soften over a bit of time.
Swap a gluten free flour blend with the all purpose flour for this recipe. It will then make them gluten free. Just make sure all your ingredients are gluten free.
Underbaking the cookies by a couple of minutes will help the cookies to stay softer and chewier instead of having the crispy texture.
More Cookie Recipes
If you like this homemade wafer recipe, you’ll love these ones too:
Chocolate Chip Condensed Milk Cookies Recipe – These sweetened condensed milk cookies are studded with mini chocolate chips in each bite. Apple Pie Cookies Recipe – You take pie crusts, add apple pie filling, create a laced topping, and bake them into mini pies shaped like cookies. Soft & Chewy Coffee Cookies – This homemade coffee cookie recipe is a made from scratch cookie that uses fresh ground coffee to enhance the flavor of these cookies in a big way. 3 Ingredient Peanut Butter Cookies Recipe – this is the easiest recipe using just a few simple ingredients. No Bake Chocolate Peanut Butter Oatmeal Cookies – you’ll love this simple recipe that doesn’t require using your oven or heating the house. Homemade Graham Crackers – You can make s’mores with them, snack on them with some chocolate milk, or mix them up and use them as a graham cracker crust for a cheesecake.


.jpg.webp?itok=1zl_MpKg)


 Bengali (Bangladesh) ·
  English (United States) ·