
 22 minutes ago
1

The post 17 Cleaning Closet Ideas So the Door Finally Shuts appeared first on Penny Pinchin' Mom.
You lean your shoulder into the cleaning closet door, holding three bottles back so it’ll latch, and you already know this isn’t cleaning supplies organization. It’s just stuff crammed where stuff goes. I used to have four half-empty bottles of the same glass cleaner shoved behind each other, bought over and over because I could never see what I already had.
This list starts where your closet actually is. You’ll combine the duplicates safely, clear out what you don’t use, and hang a restock list on the inside of the door so you stop rebuying. Capping your backups at one per product keeps the duplicates from creeping back in.
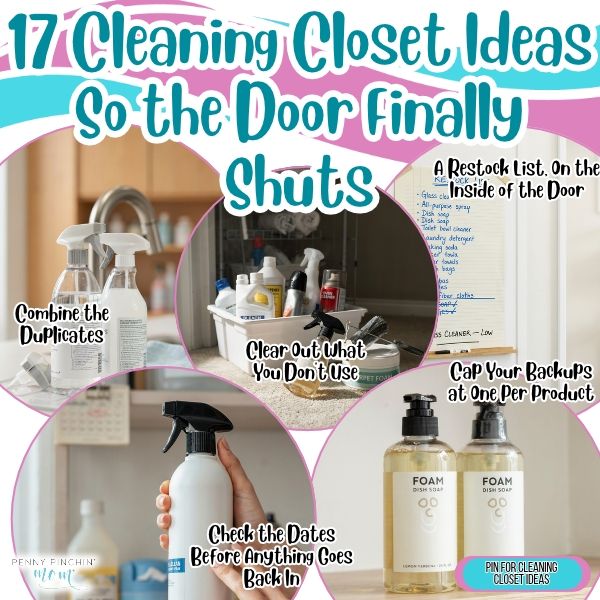
Start With What’s Already In There
1. Combine the Duplicates
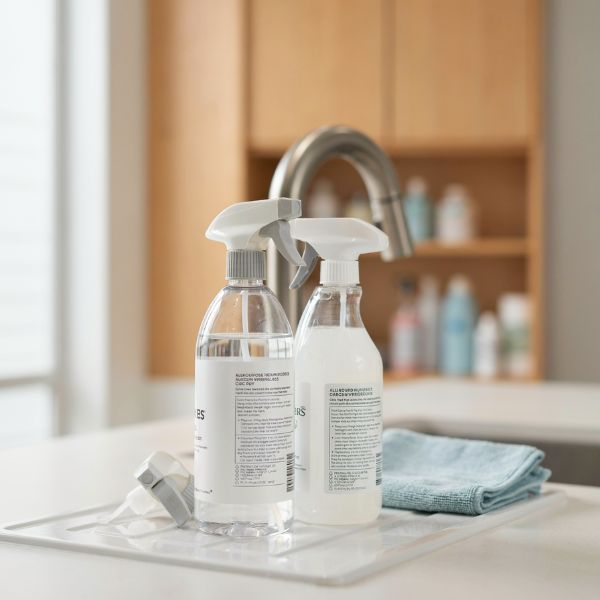
Three half-empty bottles of the same all-purpose spray is how a closet door stops latching. Back when my kids were little, I bought a new one every single time I couldn’t put my hands on the one I already owned, and the day I finally pulled everything out, I had four.
Combine only two bottles of the exact same product, same brand and same formula. Never pour one cleaner into another, even when both say “all-purpose.” Some combinations give off toxic gas, and the label on the bottle is the only thing telling you what’s inside.
Pour the smaller into the larger over the sink, rinse and recycle the empty. $0, and it buys back shelf space immediately.
2. Clear Out What You Don’t Use
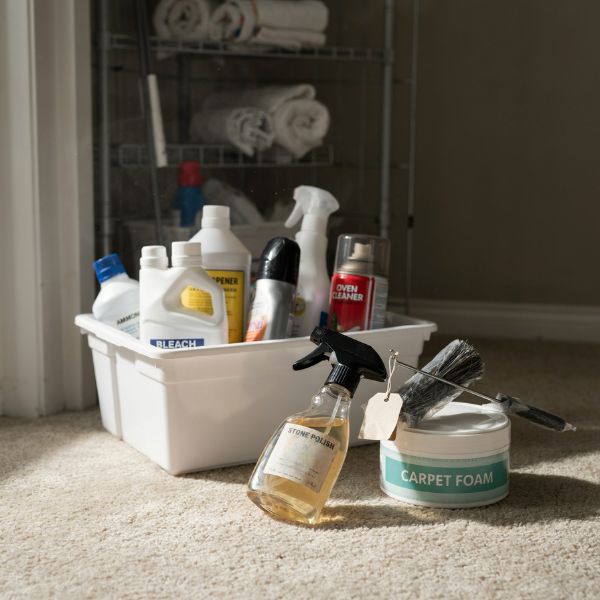
A product that’s sat untouched in that closet for over a year is taking up the exact spot the bottle you just combined needs to live in.
The grout brush you bought for one project, the carpet foam that didn’t work, the stone polish for the counters you no longer have. Pull them.
Dispose of each one the way its label instructs. Most cities run household hazardous waste drop-off days a few times a year, and that’s where bleach-based, ammonia-based, drain, and oven products belong. Not down the drain, not in the kitchen trash. Check your county’s waste department page for the next date.
$0, and most drop-off events are free for residents.
3. A Restock List, On the Inside of the Door
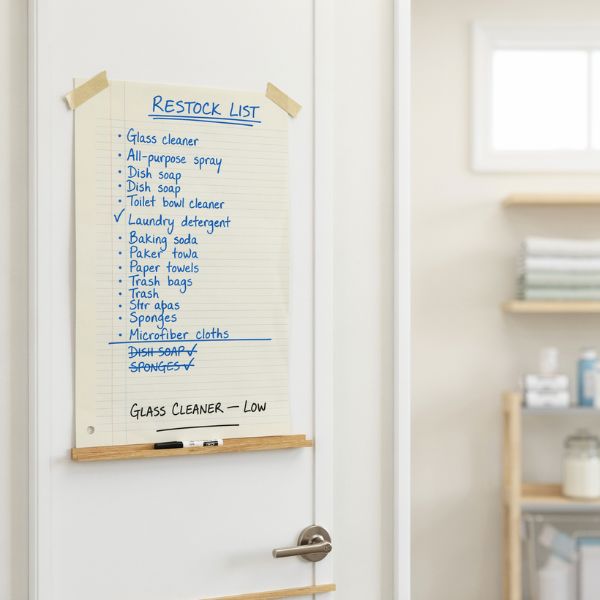
A sheet of notebook paper taped inside the closet door is the single piece of cleaning supplies organization that stops the duplicate problem from starting over.
Write it down the moment a bottle sputters empty, not two weeks later in the store aisle from memory. That’s where the fourth glass cleaner comes from, standing in front of a shelf trying to remember what’s at home.
Paper and tape you already own: $0. A small dry-erase board with a marker runs $1.25 to $3 at Dollar Tree, and it wipes clean instead of getting re-taped every month.
Our Cleaning Supplies List post is a good gut check on what actually belongs on that list.
4. Check the Dates Before Anything Goes Back In
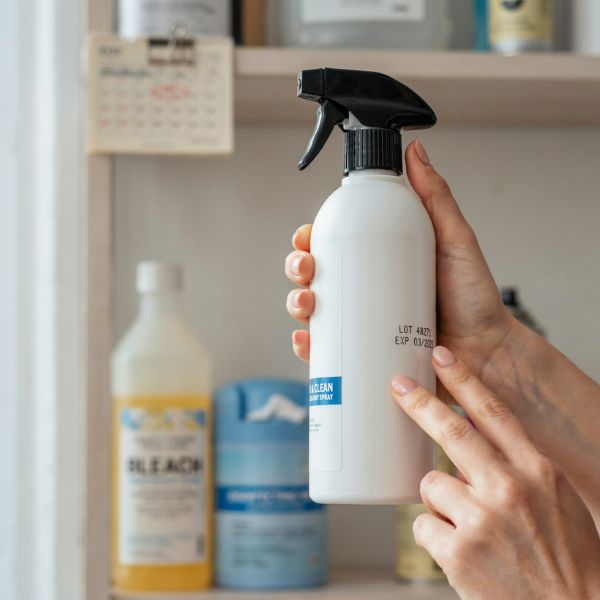
Cleaners do expire. Disinfecting sprays and wipes lose their kill claim over time, bleach weakens after about six months in the bottle, and anything that’s separated into layers or gone cloudy isn’t going to work the way it says on the front.
Turn each bottle over and look for a stamped date or lot code on the back or bottom. No date at all usually means it’s old enough to question.
A disinfecting spray that still sprays fine but is years past its date just isn’t doing the job anymore, even though the bottle looks exactly like the day it was bought.
$0 to check, and expired products follow the same label disposal rules as item 2.
5. Cap Your Backups at One Per Product
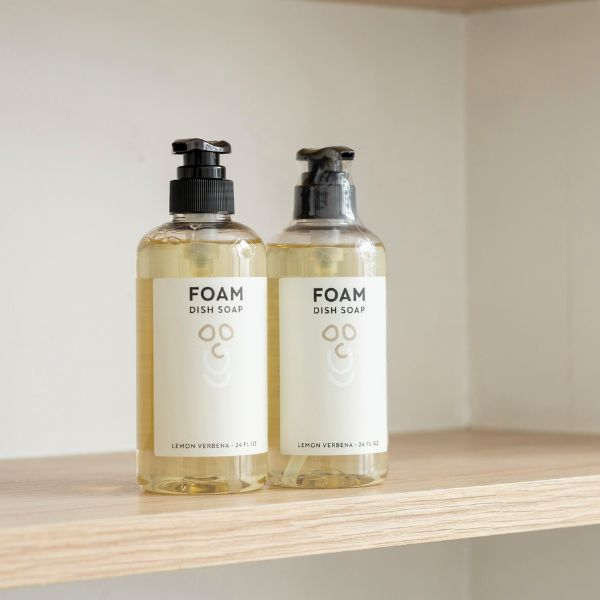
One unopened backup per product. That’s the whole rule, and it’s what keeps a closet from refilling itself the week after you organize it.
Two bottles of dish soap, fine. Five, because they were on sale three separate times, and you’re back to leaning on the door. Sale pricing only counts as a win if the extras have somewhere to sit.
Everything past that one backup moves out of the cleaning closet entirely, up to a high garage shelf or a basement bin, away from the daily grab zone. The closet holds what’s in use plus one, which gives the shelf a ceiling.
$0, and nothing to carry home.
6. Snap a Photo of the Shelf Before You Shop
Before the next grocery run, open your phone and take one picture of the organized shelf with the labels facing out. It takes four seconds and lives in your camera roll for free.
Standing in the cleaning aisle, you pull it up instead of guessing. The restock list tells you what’s empty, and the photo tells you what’s already there and how much of it, which is the part memory gets wrong.
This is also how you stop a well-meaning spouse from coming home with a third bathroom cleaner.
Retake it every few months, and the picture stays accurate. $0, no app needed.
7. Pass Along the Unopened Ones You Won’t Use
The unopened products are the hardest to let go of, because nothing’s wrong with them. You paid full price, the seal is intact, and guilt is doing the storing.
Pass them along instead of pitching them. A grown kid in a first apartment, a neighbor, a local shelter or food pantry (many accept sealed household cleaners), a church pantry. When my oldest moved out, half my overflow went into a laundry basket and straight into her trunk.
Sealed and labeled is the only requirement. Anything opened stays with you and follows label disposal rules.
$0, and you’re not buying a bin to store things nobody in your house will ever use.
Build a Caddy for Every Room
8. A Caddy for Every Room
One cleaning caddy per zone ends the parade of bottles traveling from room to room and back again. Count your zones before you buy anything: kitchen, each full bathroom, the half bath, laundry. Most houses land at three or four.
Plastic caddies with a center handle run $8 to $15 at Target or Walmart. A shower caddy or dish pan already sitting in a cabinet does the same job at $0.
Stock each one with only what that room needs. The kitchen caddy never leaves the kitchen, which is the whole point of this cleaning supplies organization system. The “carry a caddy” idea in 27 Cleaning Hacks Worth Knowing Before You Buy Another Spray starts right here, with four caddies instead of one overloaded closet.
9. The Kitchen Under-Sink Caddy
When my kids were young, and something hit the kitchen floor roughly every nine minutes, I wasn’t about to walk down the hall to a closet for a spray bottle. The caddy under the sink solved that for us.
Four things go in it: dish soap refill, all-purpose spray, a sponge or two, and gloves. That covers counters, the sink basin, the stovetop, and whatever ended up on the baseboards. A caddy that size runs about $10 to $15 at Target.
The whole thing lifts out in one motion, so nothing gets left on the floor of the cabinet.
If young kids or grandkids are in the house with any regularity, add a child-safety latch to the cabinet door. A 2-pack is $6 to $10 at Target or Amazon.
10. The Bathroom Caddy
Measure the cabinet under each bathroom sink before you buy a single caddy. Those spaces are narrow, and the plumbing eats half of them, so a caddy that’s two inches too wide becomes a caddy that lives on the floor.
Inside: toilet bowl cleaner, disinfecting spray, glass cleaner, and two rags. That handles porcelain, tile, chrome fixtures, and the mirror without a trip anywhere.
Slim caddies are $8 to $12 at Walmart, and Dollar Tree bins work for $1.25 to $5 if you don’t need a handle. Every bathroom gets its own, including the half bath.
A wipe-down before company takes two minutes instead of a hunt through the hall closet.
11. The Whole-House Grab-and-Go Caddy
The one caddy that actually leaves the closet should be the sturdiest one you own. It gets carried up stairs, set down hard, and refilled constantly, so a flimsy handle gives out by spring.
Pack it for a full cleaning session: all-purpose spray, glass cleaner, four or five microfiber rags, a scrub brush, and a small trash bag tucked in the side. That’s enough for counters, mirrors, appliance fronts, and switch plates in every room.
A heavier caddy with a reinforced handle runs about $12 to $20 at Target or The Container Store.
Unlike the room caddies, this one travels, which means it needs an obvious spot in the closet to come home to. Otherwise, it ends up abandoned in whatever room you quit in.
12. Shop the House Before You Buy a Caddy
The cheapest cleaning caddy ideas are already sitting in your cabinets. Walk through the house before you add four caddies to a cart and look at what has a handle and a bottom.
Candidates: shower caddies, dish pans, a sturdy canvas tote for the upstairs supplies, a plastic berry basket for sponges and brushes, even a shoebox in a pinch. $0.
The one I carry upstairs is a cracked dish pan that used to soak baby bottles, and it has outlasted two caddies I paid real money for.
If you come up short, thrift stores and garage sales run $1 to $3 for the same plastic caddy selling for $12 new.
The honest advantage of a free caddy is timing. It gets filled and put to work tonight, while the perfect one sits in an online cart for three weeks.
13. The Laundry Room Caddy
When a shirt comes out of the dryer with the spot still on it, you want the stain remover within arm’s reach of the washer.
This caddy holds stain spray, a stiff-bristled brush, a measuring scoop, and a small dish for the change and receipts that come out of pockets. The detergent jug stays beside it. That weight will warp a plastic caddy over time.
Walmart has them for $8 to $12, or it’s $0 with a dish pan from under the kitchen sink.
Put it on a shelf above the machines, high enough that it stays away from little hands and doesn’t vibrate onto the floor mid-spin cycle.
14. Give Every Caddy a Parking Spot
Every caddy needs a square of shelf that belongs to it and nothing else. The room caddies mostly stay put, but the grab-and-go one wanders, and a caddy without an assigned space ends up on the stairs for four days.
Mark the spot with painter’s tape, about $5 for a roll at Walmart, or $0 if there’s already a roll in a junk drawer. Run a tape outline around the caddy’s footprint on the shelf.
It looks a little silly. It also means my husband brings the caddy back, because there’s a visible empty rectangle telling him where it goes instead of a guess.
That outline is what keeps small cleaning closet organization from unraveling by February, when motivation runs out but habits don’t.
Use the Doors and Walls You’re Not Using
15. An Over-the-Door Organizer for Spray Bottles
The back of that closet door is the only surface in there doing nothing. A fabric or wire shoe-organizer-style hanger, the kind with 12 to 24 pockets, turns it into cleaning supplies storage for every spray bottle you own.
Over-the-door organizers run $15 to $25 at Target, Walmart, or Amazon, and one is plenty for a standard closet door. Load cleaners into the top two rows only, well above a child’s reach, and save the lower pockets for sponges, scrub pads, and gloves.
Every bottle stands upright and visible, so nothing gets shoved to the back and rebought a month later. Open or mesh pockets beat solid fabric, since you can read a label without pulling the bottle out.
Photo: a real closet door mid-use, organizer loaded unevenly, not a styled shelf.
16. Wall Hooks for Brooms and Mops
Leaning a broom in the corner is exactly how it falls out the second someone opens the door. Mount hooks on the back wall of the closet, high enough that bristles and mop heads hang free instead of resting on the floor.
A 2 to 4 pack of Command hooks typically costs $8 to $14 at Target or Amazon. Screw-in utility hooks from a hardware store run about $5 for the same job if you don’t mind patching holes later, and it’s $0 if there are picture hooks or nails already rattling around a junk drawer. Check the weight rating before you hang a damp mop on an adhesive hook.
Hanging keeps bristles from bending sideways, so the broom still sweeps a straight line next year.
Photo: a real closet wall, broom and mop hung, a little dust on the baseboard.
17. A Home for the Vacuum and Its Attachments
Vacuum attachments are the first thing to vanish in a closet that’s already overstuffed. Corral the crevice tool, brush head, and upholstery nozzle in one small clear bin that sits directly above or beside the vacuum itself.
A shoebox or an old shoe bin already in the house handles this for $0. If you’d rather buy, a small wall-mounted caddy or stacking bin is $10 to $20 at Target, Walmart, or Amazon, which is less than replacing a single lost attachment from the manufacturer. Add one adhesive hook beside the vacuum for the cord so it stops getting knotted around the handle.
The attachments end up three feet from the machine they belong to, which is the only reason anybody bothers to put them back.
Photo: a real vacuum parked in a closet, bin of attachments beside it, cord looped on a hook.
Your Closet Door Will Finally Close
That shoulder-against-the-door routine ends the moment you stop shoving bottles into empty space and give them real homes instead. Four duplicate glass cleaners were what it took to teach me that cramming only postpones the frustration. The closet you’re dreading right now can hold what you actually use, and that’s enough.
The tape rectangle is still on my shelf four years later, gray at the edges, with the caddy sitting inside it.
The post 17 Cleaning Closet Ideas So the Door Finally Shuts appeared first on Penny Pinchin' Mom.





 Bengali (Bangladesh) ·
 English (United States) ·